


DIY Hurricane Fabric Installation
Protect your home with a system that’s stronger than the competition, and save thousands by installing it yourself. Forget bulky storm prep. Our professional-grade hurricane fabric panels are a modern solution you can install with confidence.
Step-by-step installation instructions
Our DIY system makes it easy to protect your home. The hurricane fabric installation requires only a power drill, tape measure, and cordless screwdriver, and our clear installation instructions ensure you can do it right.
Step 1: Measurement instructions
Getting the correct measurement is the crucial first step. Here’s how to measure the entire area of each window, door, and opening so that every corner and edge is fully protected. This also applies to garage doors, lanai openings, and other large openings.
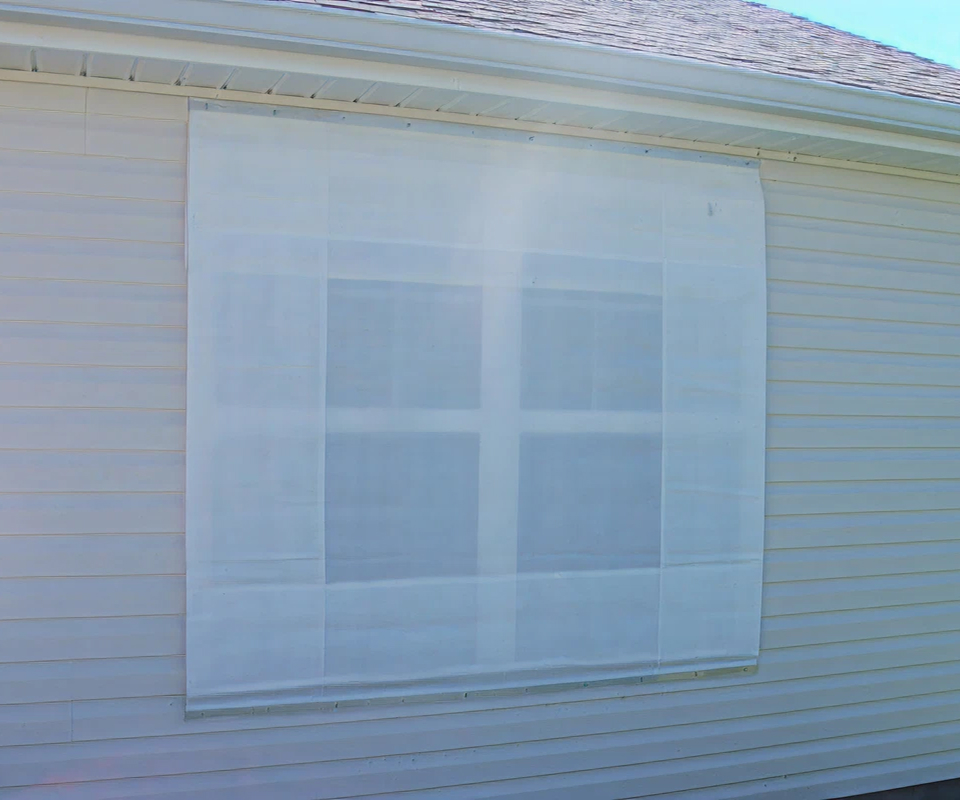
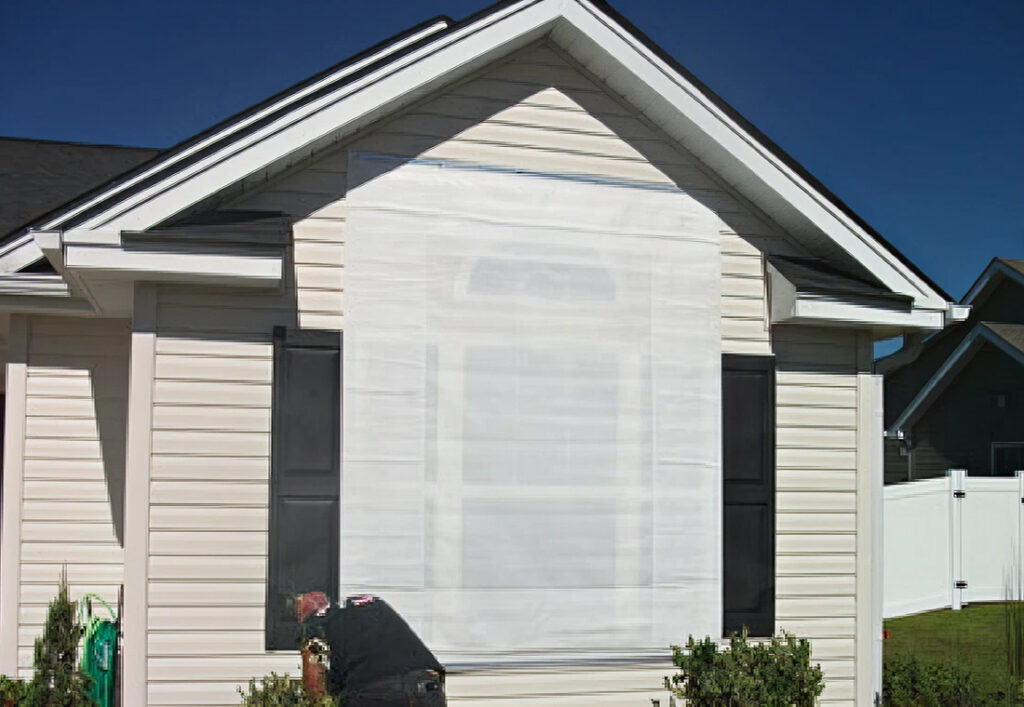
Window Mount
For Mount Without Hood – top to bottom or side to side
- Add 8” to height and width (example: buck measurement 36 x 36 = finished 44 x 44).
- If horizontal mount, make sure that there are no obstructions on each side.
- Make sure there is 4" clearance on each side with no obstructions on top and bottom. If there are any obstructions, the product can be notched to accommodate.
For Mount with Hood – top to bottom only
- Add 8” to the width of the buck opening.
- Add 6” to the height. (The bottom bar makes its own angle)
- Add 11” to 13” to the height of the buck opening (to accommodate the hood).
- Add 8” to the width (unless trap opening).
*If you’re mounting screens together for large openings, we have options for interconnectivity.
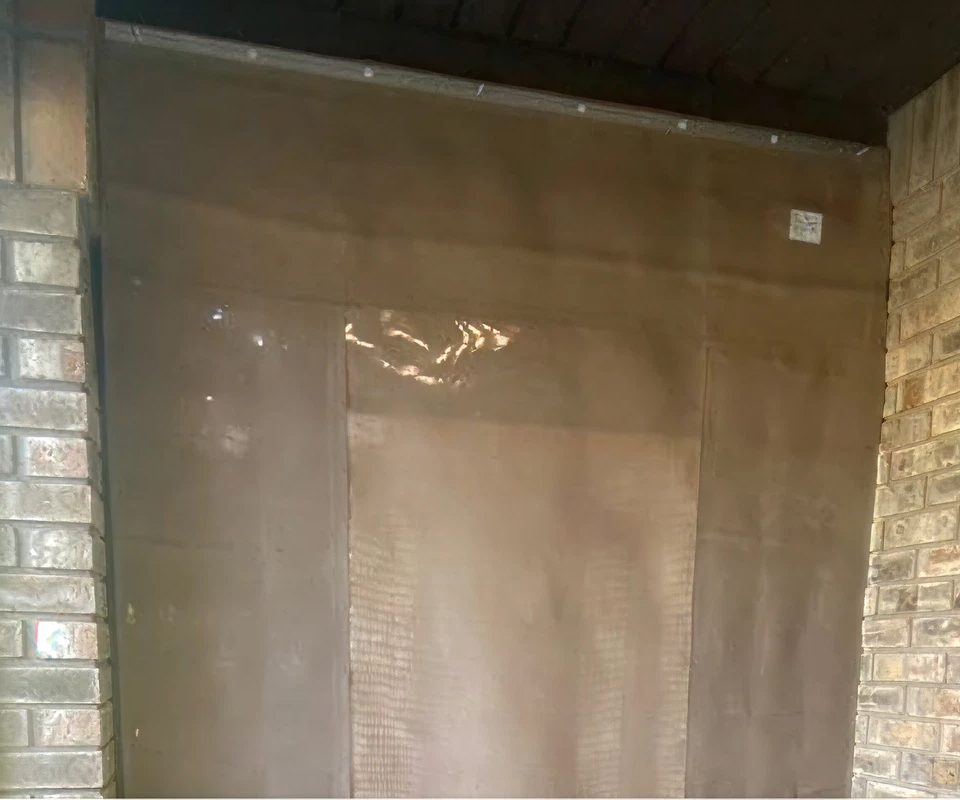
For Mounting to Floor (Lanais, Entryways, Porches, Garages)
For Mount Without Hood – top to bottom
- Add 8” to the width of the buck opening.
- Add 6” to the height. (The bottom bar makes its own angle)
- Add 11” to 13” to the height of the buck opening (to accommodate the hood).
- Add 8” to the width (unless trap opening).
*If you’re mounting screens together for large openings, we have options for interconnectivity.
If you’re mounting screens together for large openings, we have options for interconnectivity.
Step 2: Mounting instructions
Step 3: Installation instructions
Installation of CAT 5 Hurricane Screens
1 Verify the number of openings to be covered (to determine the number of screens required).
2 Standard Cat 5 screen installation needs to be done from the bottom up. Normally, inside- and outside-mount windows can be done from top to bottom.
3 Reroll the screen if needed and keep the bottom bar up.
4 Use a chalk line to snap a guideline for the bottom bar.
5 Measure 2” off the edge of a wall, column, or other building material (this is to start fastening).
6 Make sure that the screen panel is even on each side or centered properly on a trapped opening.
7 Starting from one side, temporarily attach the screen to the floor with tapcons in every other pre-drilled hole.
8 Drill each hole through the bottom bar to mark and easily install sidewalk bolts.
9 Once the bottom is done, you may now unroll and stretch the screen panel to its full height (the panel should be pulled tight, and use a speed square for leverage).
10 Drill and mount the top bar with tapcons and studded panel mates (panel mates are needed to hold the hood in place). The panel mates are pre-marked on the bar to match with grommets for the hood.
11 If your Cat 5 screen is removable, all top holes will require panel mates.
12 Proceed with the installation temporarily with tapcons like what you did at the bottom.
13 Drill out all holes for panel mates, remove tapcons, and install panel mates.
14 Hang the screen using studs with wing nuts.
15 While the panel is up, you should match tabs or grommets on the side of each screen if necessary.
16 Remove tapcons on the floor and hang the screen in the hood.
17 Roll the screen panel tightly and tuck in tabs as you roll (one person can roll even the longest screen with practice).
18 Drill out holes through the floors and walls.
19 Remove all the dust from the holes using a vacuum.
20 Install leads and sidewalk bolts (wood walls will require panel mates or brass anchors).
21 An outside mount is easily done by installing the top first (it will be easier to level the top bar than the bottom one).
22 Remember to carefully measure 2” for holes in the concrete and 1” in the wood wall.
23 Like any hurricane protection product, it won't provide full protection if not properly attached.
Installation of CAT 5 Hurricane Screens
When using a pulley system, the screen typically does not require a hood. The pulley should be mounted approximately 2 inches above the top bar for best results. A pulley system is not recommended for Cat 5 hurricane screens trapped on both sides. It can be done, but it requires one more pulley and a 2” x 2” angle mounted on the sidewall to move ropes around the screen roll.
1 Use tapcons to mount the top bar of the screen.
2 Use panel mates to mount pulleys above the screen.
3 The screen size will determine the number of ropes needed to make the system work.
4 Remove the tapcon four to five holes from the end of the top bar.
5 Loop the rope from the back and drive the tapcon through the loop.
6 Run the rope under the screen and up to the pulley, then over to the main side pulley.
7 Leave enough rope to reach the cleat location.
Step 4: Deployment
Deployment and storage require minimal effort, so they can be performed by almost anyone in just a few minutes. The screens can be deployed at the last minute — there is no need to install them a day or two ahead of time.
Built with confidence, backed by trust
When you choose our DIY system, you're not just buying a product — you're investing in a proven solution. This is what our commitment to quality and your peace of mind looks like:
5-year warranty
A promise of lasting quality and long-term protection for your house
Made in the USA
A powerful mark of quality, craftsmanship, and reliability
Trusted by professional contractors
A product that meets professional standards for hurricane protection
Ditch the plywood: Protect your home the smart way
Wrestling with heavy plywood sheets or clunky metal accordion shutters minutes before a storm is a stressful, exhausting, and outdated way to protect your home. They are a nightmare to store, damage your home's exterior, and turn storm prep into a panic. It’s time for an upgrade.
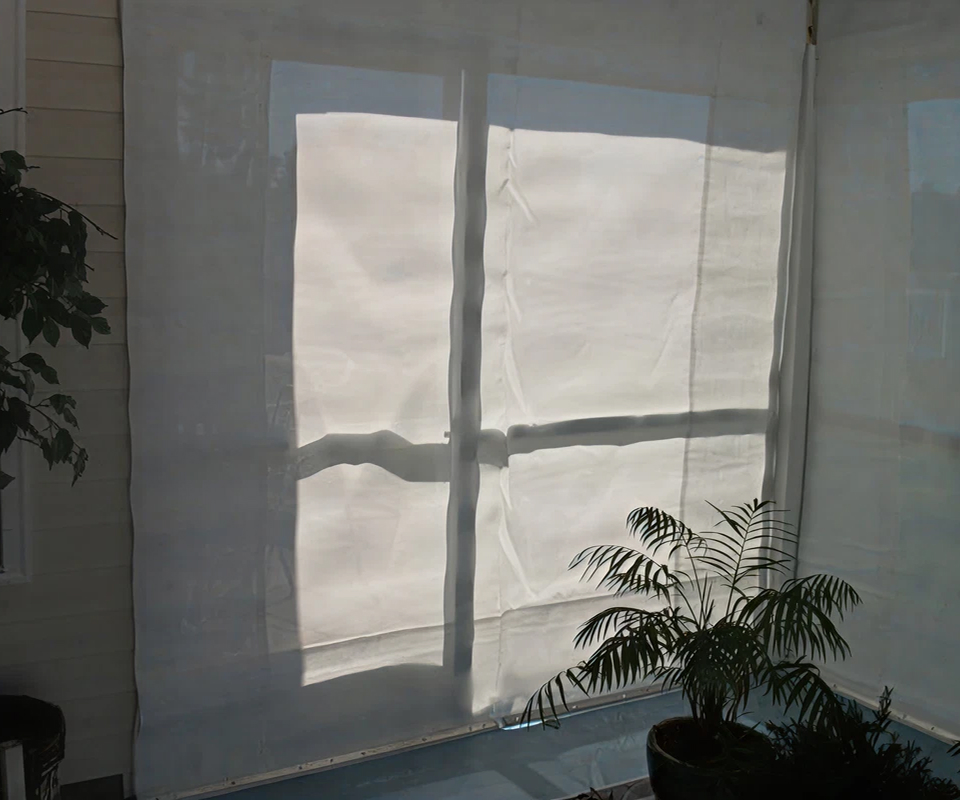
Why fabric?
- Lightweight and easy to store: Our fabric panels roll up compactly and can be stored in small storage bags, freeing up valuable space in your garage or shed.
- Rapid deployment: Our hurricane fabric panels can be deployed faster than it takes to board up with wood.
- Discreet and aesthetically pleasing: Our system is designed to blend seamlessly into your home's design, unlike bulky metal shutters that detract from its curb appeal.
- Exceptional hurricane protection: Our panels are engineered to withstand hurricane-force winds and prevent catastrophic damage caused by rapid pressurization and roof lift off.
We believe every homeowner in Florida and beyond deserves access to the best hurricane protection without the premium price tag of professional installation services. That’s why we offer the exact same materials our professional network uses. You get unmatched protection from wind and debris with our advanced AstroGuard barrier while saving thousands on installation costs.
Screen color options
Find the perfect match for your home. Our hurricane fabric installation system is designed to provide exceptional protection without sacrificing aesthetics. With our range of color options, you can ensure your fabric panels blend seamlessly with your home's exterior.


Frequently asked questions
Yes, our systems can qualify homeowners for significant wind mitigation insurance discounts. Getting your free estimate is the first step to a safer home and lower premiums.
Absolutely. The system’s strength doesn’t come from the installer; it’s engineered directly into the hardware and barrier materials. You receive the exact same professional-grade components our dealers use, from our Astro-Tex hurricane fabric panels — which are three times stronger than competitors’ — to the heavy-duty grommets and anchors. Because the strength is already built in, your only job is to install it correctly to achieve professional-grade protection.
While the total time depends on your home’s size, a typical homeowner can easily install anchors for several windows in just one afternoon.
Our US-based product experts are available by phone or email to help you. We can answer questions, review photos of your measurements or installation, and guide you through any step of the process.
Our hurricane fabric panels are designed to be extremely durable and withstand multiple hurricanes. The advanced materials, like our AstroGuard hurricane fabric, are built to endure powerful impacts from flying debris and hurricane-force winds without tearing. You won’t need to replace them after a storm unless they sustain significant, visible damage. They can be rolled up for storage and used again for the next hurricane season.
Got questions about the installation?
Your home is your most valuable asset. Protect it the right way with the strongest, most trusted DIY hurricane fabric. Send us a message if you need help or require professional installation.
"*" indicates required fields