Our hurricane screens are designed for a wide range of applications
Home Envelope
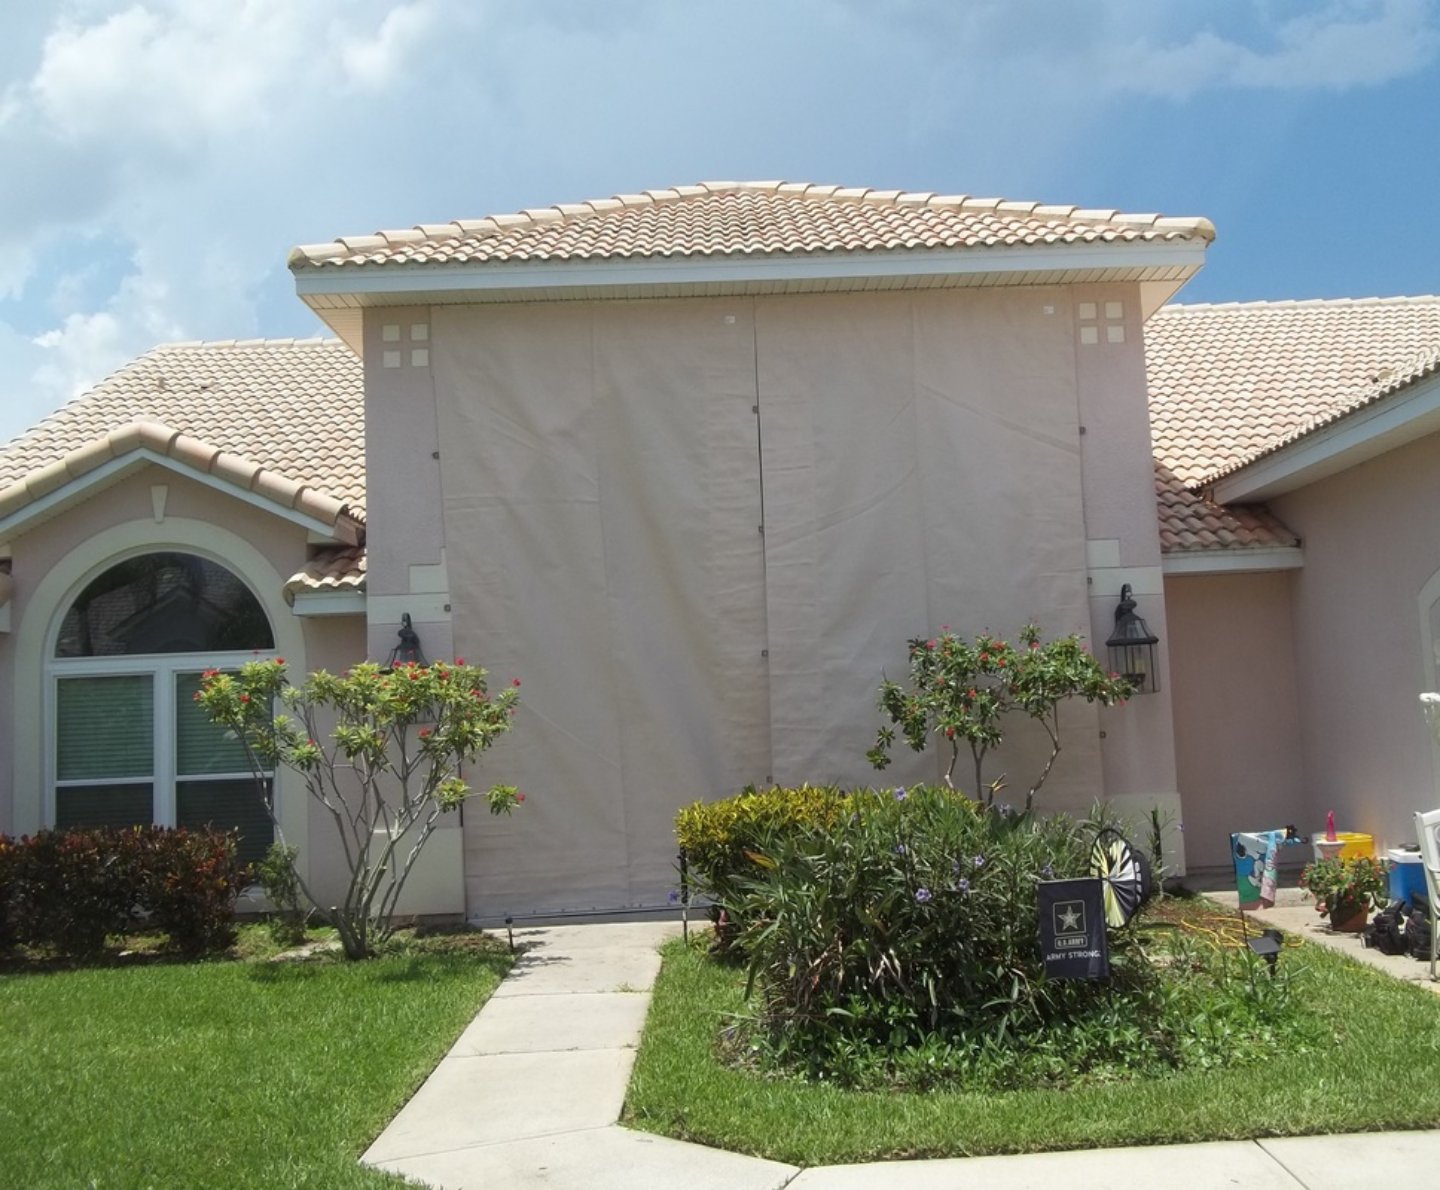
At Cat 5 Hurricane Screens LLC, we believe that preserving your home envelope is paramount in hurricane protection. Once a window or door is breached, the envelope is compromised. Surging winds can lift your roof or blow out your walls. Covering these openings with Cat 5’s hurricane screens reduces the strong wind and rain to small amounts of air and moisture while safely deflecting debris.
In situations where we can establish anchor points away from the side of the house, we create a tent mount to provide the screen with flex room. We’ll then construct a screen that attaches above and below the patio door 2 feet from the house. The screen wraps around at the sides to enclose the triangular openings.
Lanais
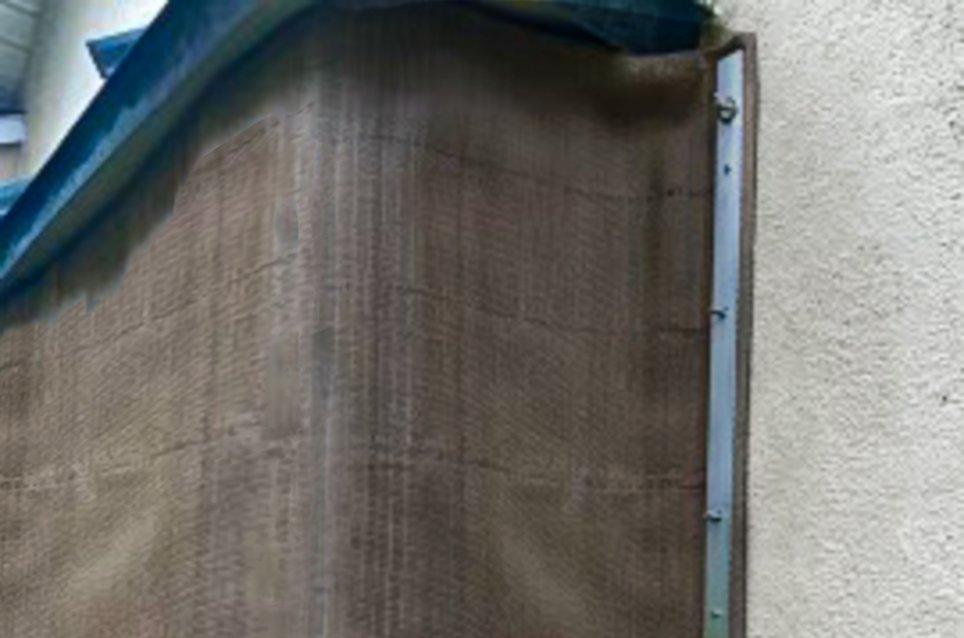
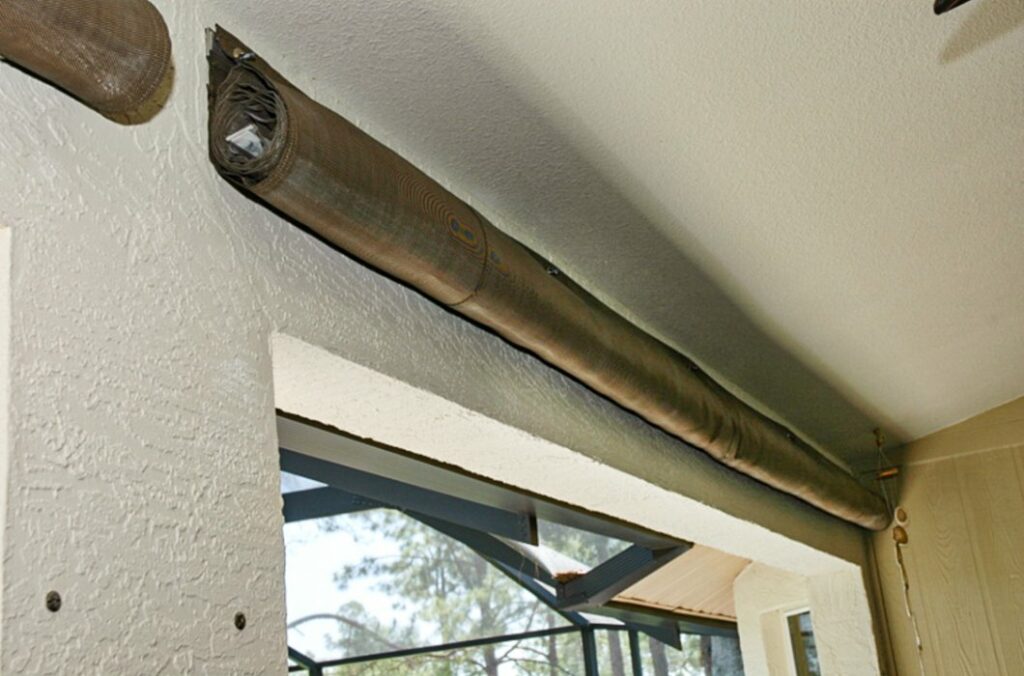
For storage, this screen is rolled and stored under the eave. The cover and coordinating screen are available in several colors, making it easy to blend with the surroundings.
The cover protects the screen from the elements, improves its appearance, and provides ease of storage. Notice that the screen rolls quite tightly without obstructing the view. The crisp and clean application makes this product visually appealing from the outside and inside.
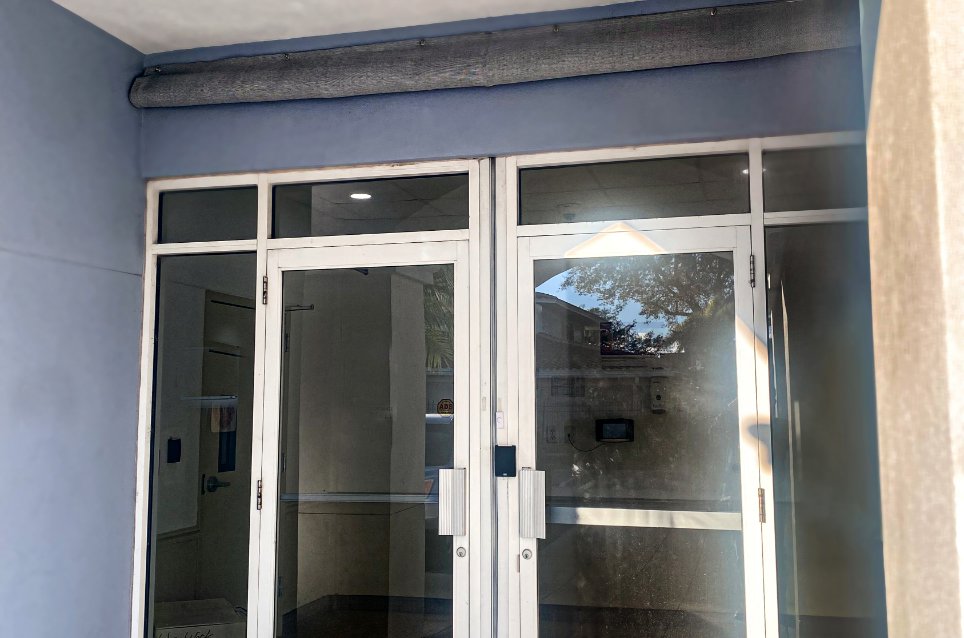
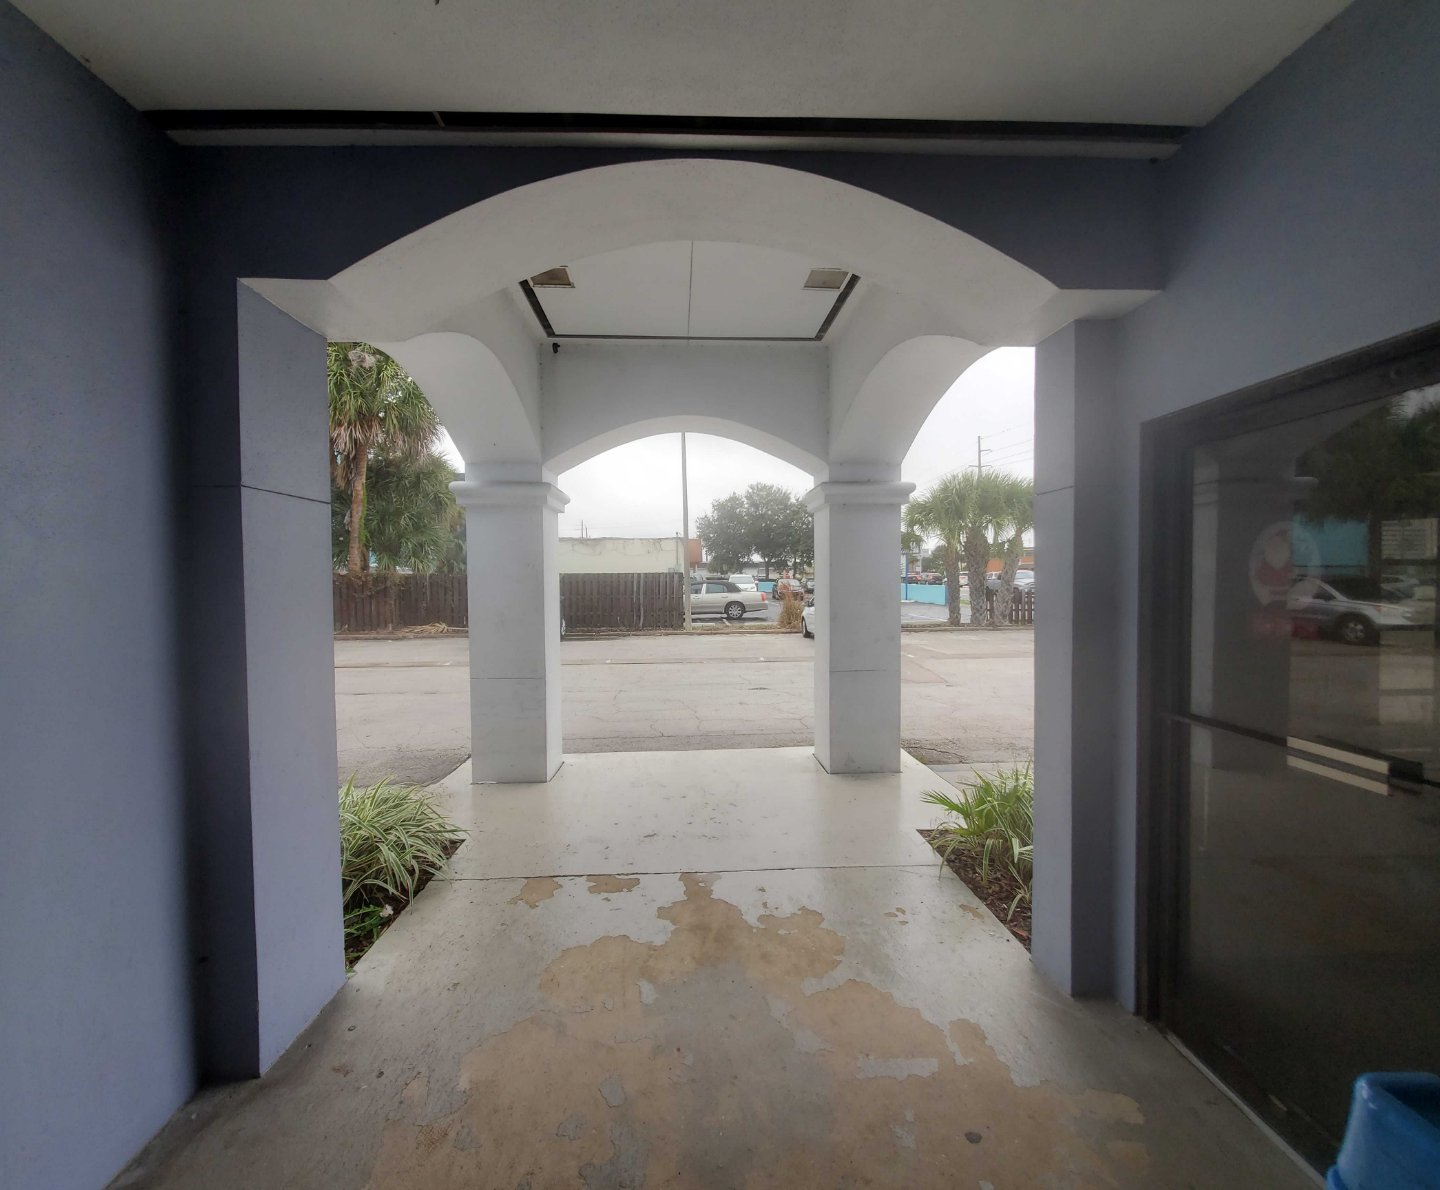
Entryways
Entranceways are considered one of the weaker points of a home. Without reinforcement, the doors can be blasted open by wind or flying debris. If they contain glass, the problem is compounded. Entryways are also one of the most challenging openings to protect, especially those with unusual architecture.
With rigid protection products, you will need to install frames, hurricane bracing, and tracks. When you deploy a Cat 5 Screen, your entry points will be protected.
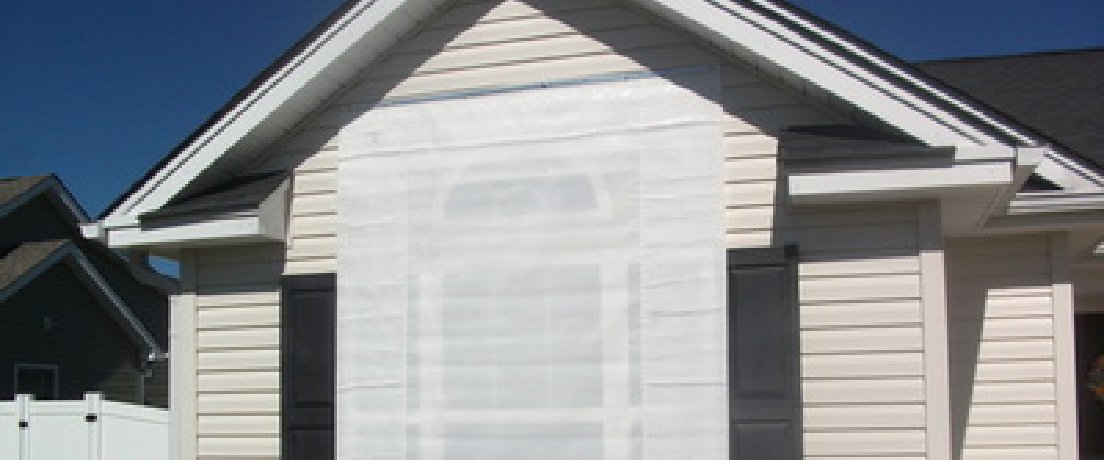
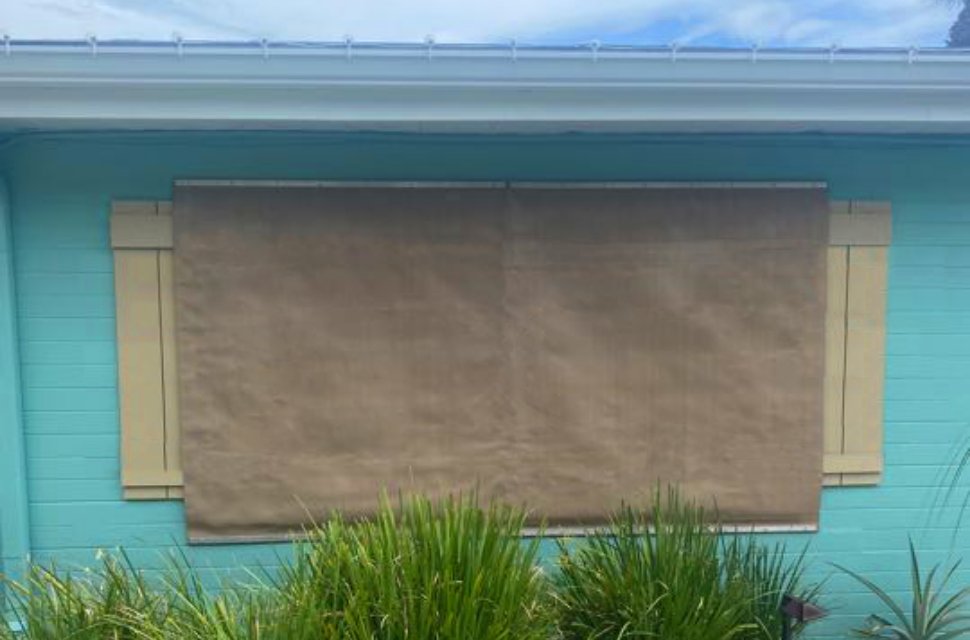
Windows
Although our screens are designed with large openings in mind, they can easily cover windows. Cat 5 hurricane screens can be made with a hood or removed with a storage bag to be kept elsewhere. This is an inexpensive way to cover your windows without the need for heavy plywood or awkward metal panels. As a bonus, our screens allow light to come through while allowing you to see outside — no more claustrophobia!
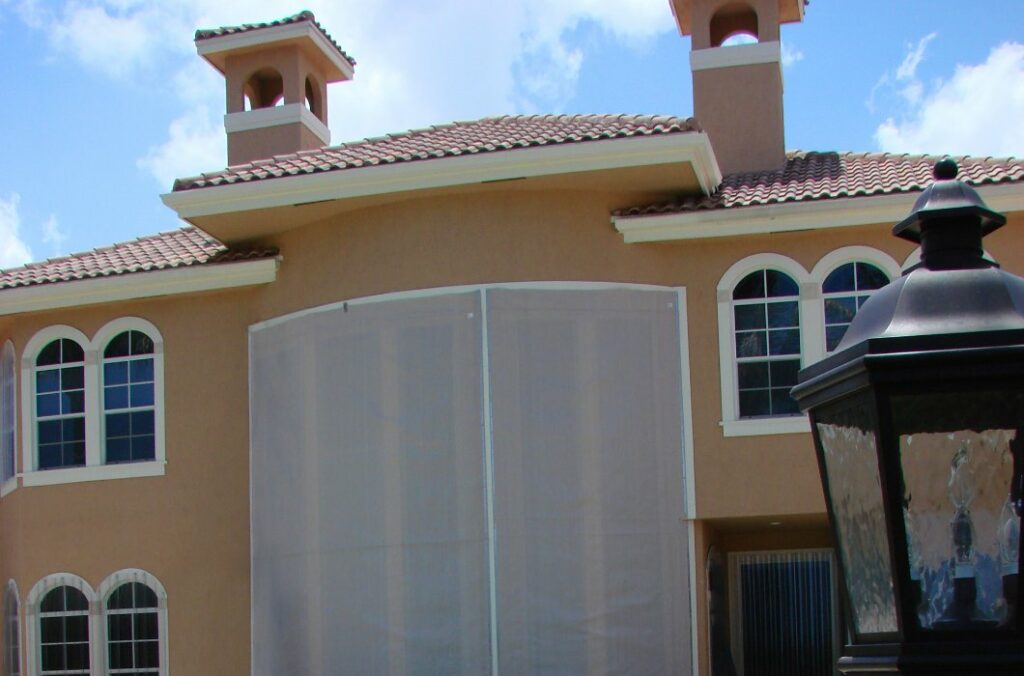
Implications of flush-mounting a flexible fabric screen over windows and doors that contain breakable glass:
The screen stops heavy flying debris but flexes during the process. Depending on the size of the opening and the force of the object, the flex in a hurricane could be from a few inches for a narrow span to nearly 20 inches for a 10-foot span. If a window or door glass is within the flex range, it could be broken.
If the glass breaks, the screen preserves the envelope of the building. Because the weave has approximately 95% closure, it lets in a small amount of air. However, it stops the damaging surges of wind, which could blow out the walls or lift the roof. The screen can prevent or abate rain and wind damage that would otherwise occur.
Commercial
We can create custom hurricane screens for commercial buildings to cover openings and safeguard them from the impact of hurricanes. Our versatile screen system protects vulnerable entranceways and unusual architecture, keeping the building envelope intact from pressure changes, wind, rain, and debris.